Introduction
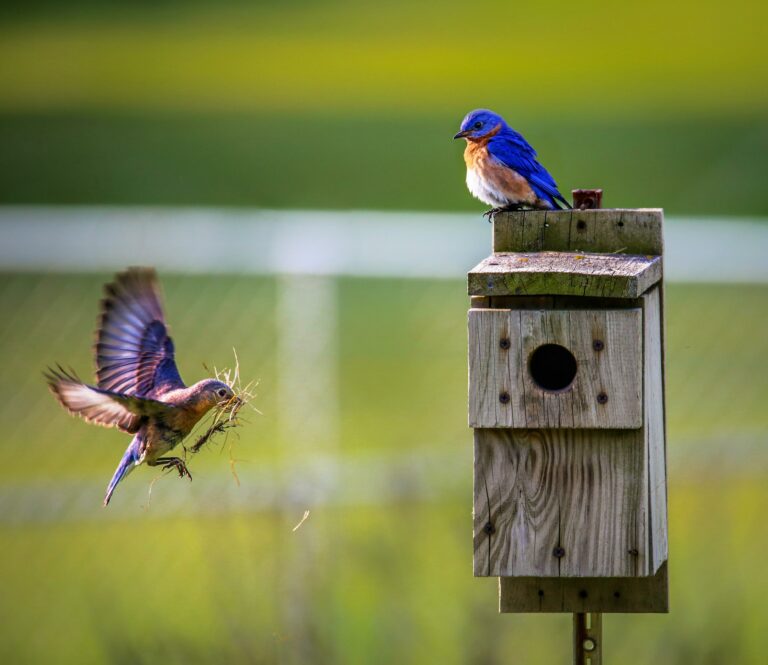
Building a DIY birdhouse in your backyard is a fun and rewarding activity which increases the vibrancy of life within it. By creating a birdhouse, you give secure and hospitable places for birds to nest while enjoying nature’s beauty and sounds in your home compound. In this article, we will show you how to make a birdhouse from start to finish that attracts more birds and provides them with a warm nesting place.
Materials Needed
The following materials are required:
Boards made of wood (best if cedar or pine)
Nails or screws: Hammer or drill-Saw (hand saws or power saws)-Sandpaper (medium/fine grit)-Paint/Stain/Optional-Measuring Tape-Pencil-Non-toxic Wood Glue/optional-Various Sized Drill Bits
Step 1: Cutting the Wood Pieces
Cut out pieces as follows:
• Front – Back = 5” x7”
• Sides=4”x6”
• Roof=5×7”
• The Floor= 5×4”
Ensure all cuts are accurate and straight so as not to have loose parts in your bird home.
Step 2: Assembling the Walls
Nail or screw the front side together, then connect the sides of the resultant structure into it, ensuring they are flush, square.
Back Panel: Attach the back panel, thus completing the main structure of the house by joining the members of the sides.
Step 3: Adding the Floor
Attach the floor piece to the bottom of a birdhouse, ensuring it fits snugly inside walls and is firmly fixed.
Making The Roofing Material
Join two roofing boards so that they are at an angle on the roof. Make sure to use nails or screws for attachment and ensure that they are aligned.
Step 4: Constructing the Roof
Roof Pieces: Attach the two angled roof pieces using nails or screws. Ensure proper alignment.
Securing the Roof: The roof should extend slightly over the sides to protect it from the rain. You can also use wood glue with other screws or nails as added security.
Step Five: Sanding and Finishing
Sanding: Medium grit sandpaper smoothens all rough edges, followed by fine paper
Painting/Staining: Use non-toxic paint/stain to seal wood and make it more appealing. These finishes should be safe for birds, too.
Step 6: Adding a Perch (Optional)
Bore a small hole under the birdhouse’s entrance point, then place a wooden dowel, which makes a perch; this is optional since some species don’t require one.
Mounting Your Birdhouse
Location: Find a quiet spot in the garden, such as a tree trunk, sturdy post, or under the eaves of a house where there is no direct sunlight and predators cannot access it easily.
Height: To protect it against ground predators, a birdhouse should be 5-10 feet above ground level.
Secure: Screw into place while making sure no swaying happens during windy times by using brackets for mounting purposes.
Enjoying Your Birdhouse
After completion, watch birds coming in, visit your bird home and stay there happily. Various birds will come to these houses; thus, you can see nature up close while appreciating it.
- Growing Bonsai: Tips for Miniature Tree Enthusiasts
- Buying Bonsai: Tips for Selecting Your Perfect Tree
- Bonsai Potting: Essential Tips for Tree Care Success
- Bonsai Maintenance: Essential Care for Tiny Trees
- Mastering the Art of Shaping Bonsai: A Beginner’s Guide
Source: Birdhouse Building Tips


